

One of the keys to having a youthful face and skin is to properly nourish your skin on a daily basis. Your skin is exposed to several environmental toxins everyday especially if you live in places with harsh weather conditions.
By moisturizing your face daily, you’ll be giving your skin the nutrients it requires, allowing it to stay fresh, soft and well hydrated.
Unfortunately, store-bought moisturizes come at exorbitant prices and often contain harmful chemicals, skin irritants and hormone disruptors. While there are some safe products, they contain lots of ingredients which increases the amount of chemicals we apply on our skin.
So, why buy an expensive and unsafe facial moisturizer when you can easily make your own with just a few safe and natural ingredients? Not only will you be saving a lot of money, you’ll also be having a more measured control on what you apply on your skin.
Making Your Own Facial Moisturizers: The Ingredients
Most skin and beauty products contain dozens of ingredients, some of them really difficult to pronounce. Some of them serve as colorant and/or preservatives. Others add more fragrance to the product while others keep the cream from separating. All these ingredients together can be harmful to your skin. But for making your own facial moisturizer, you need only four basic ingredients. They are carrier oil, beeswax, nut butter, and grapefruit seed extract.
Carrier Oil
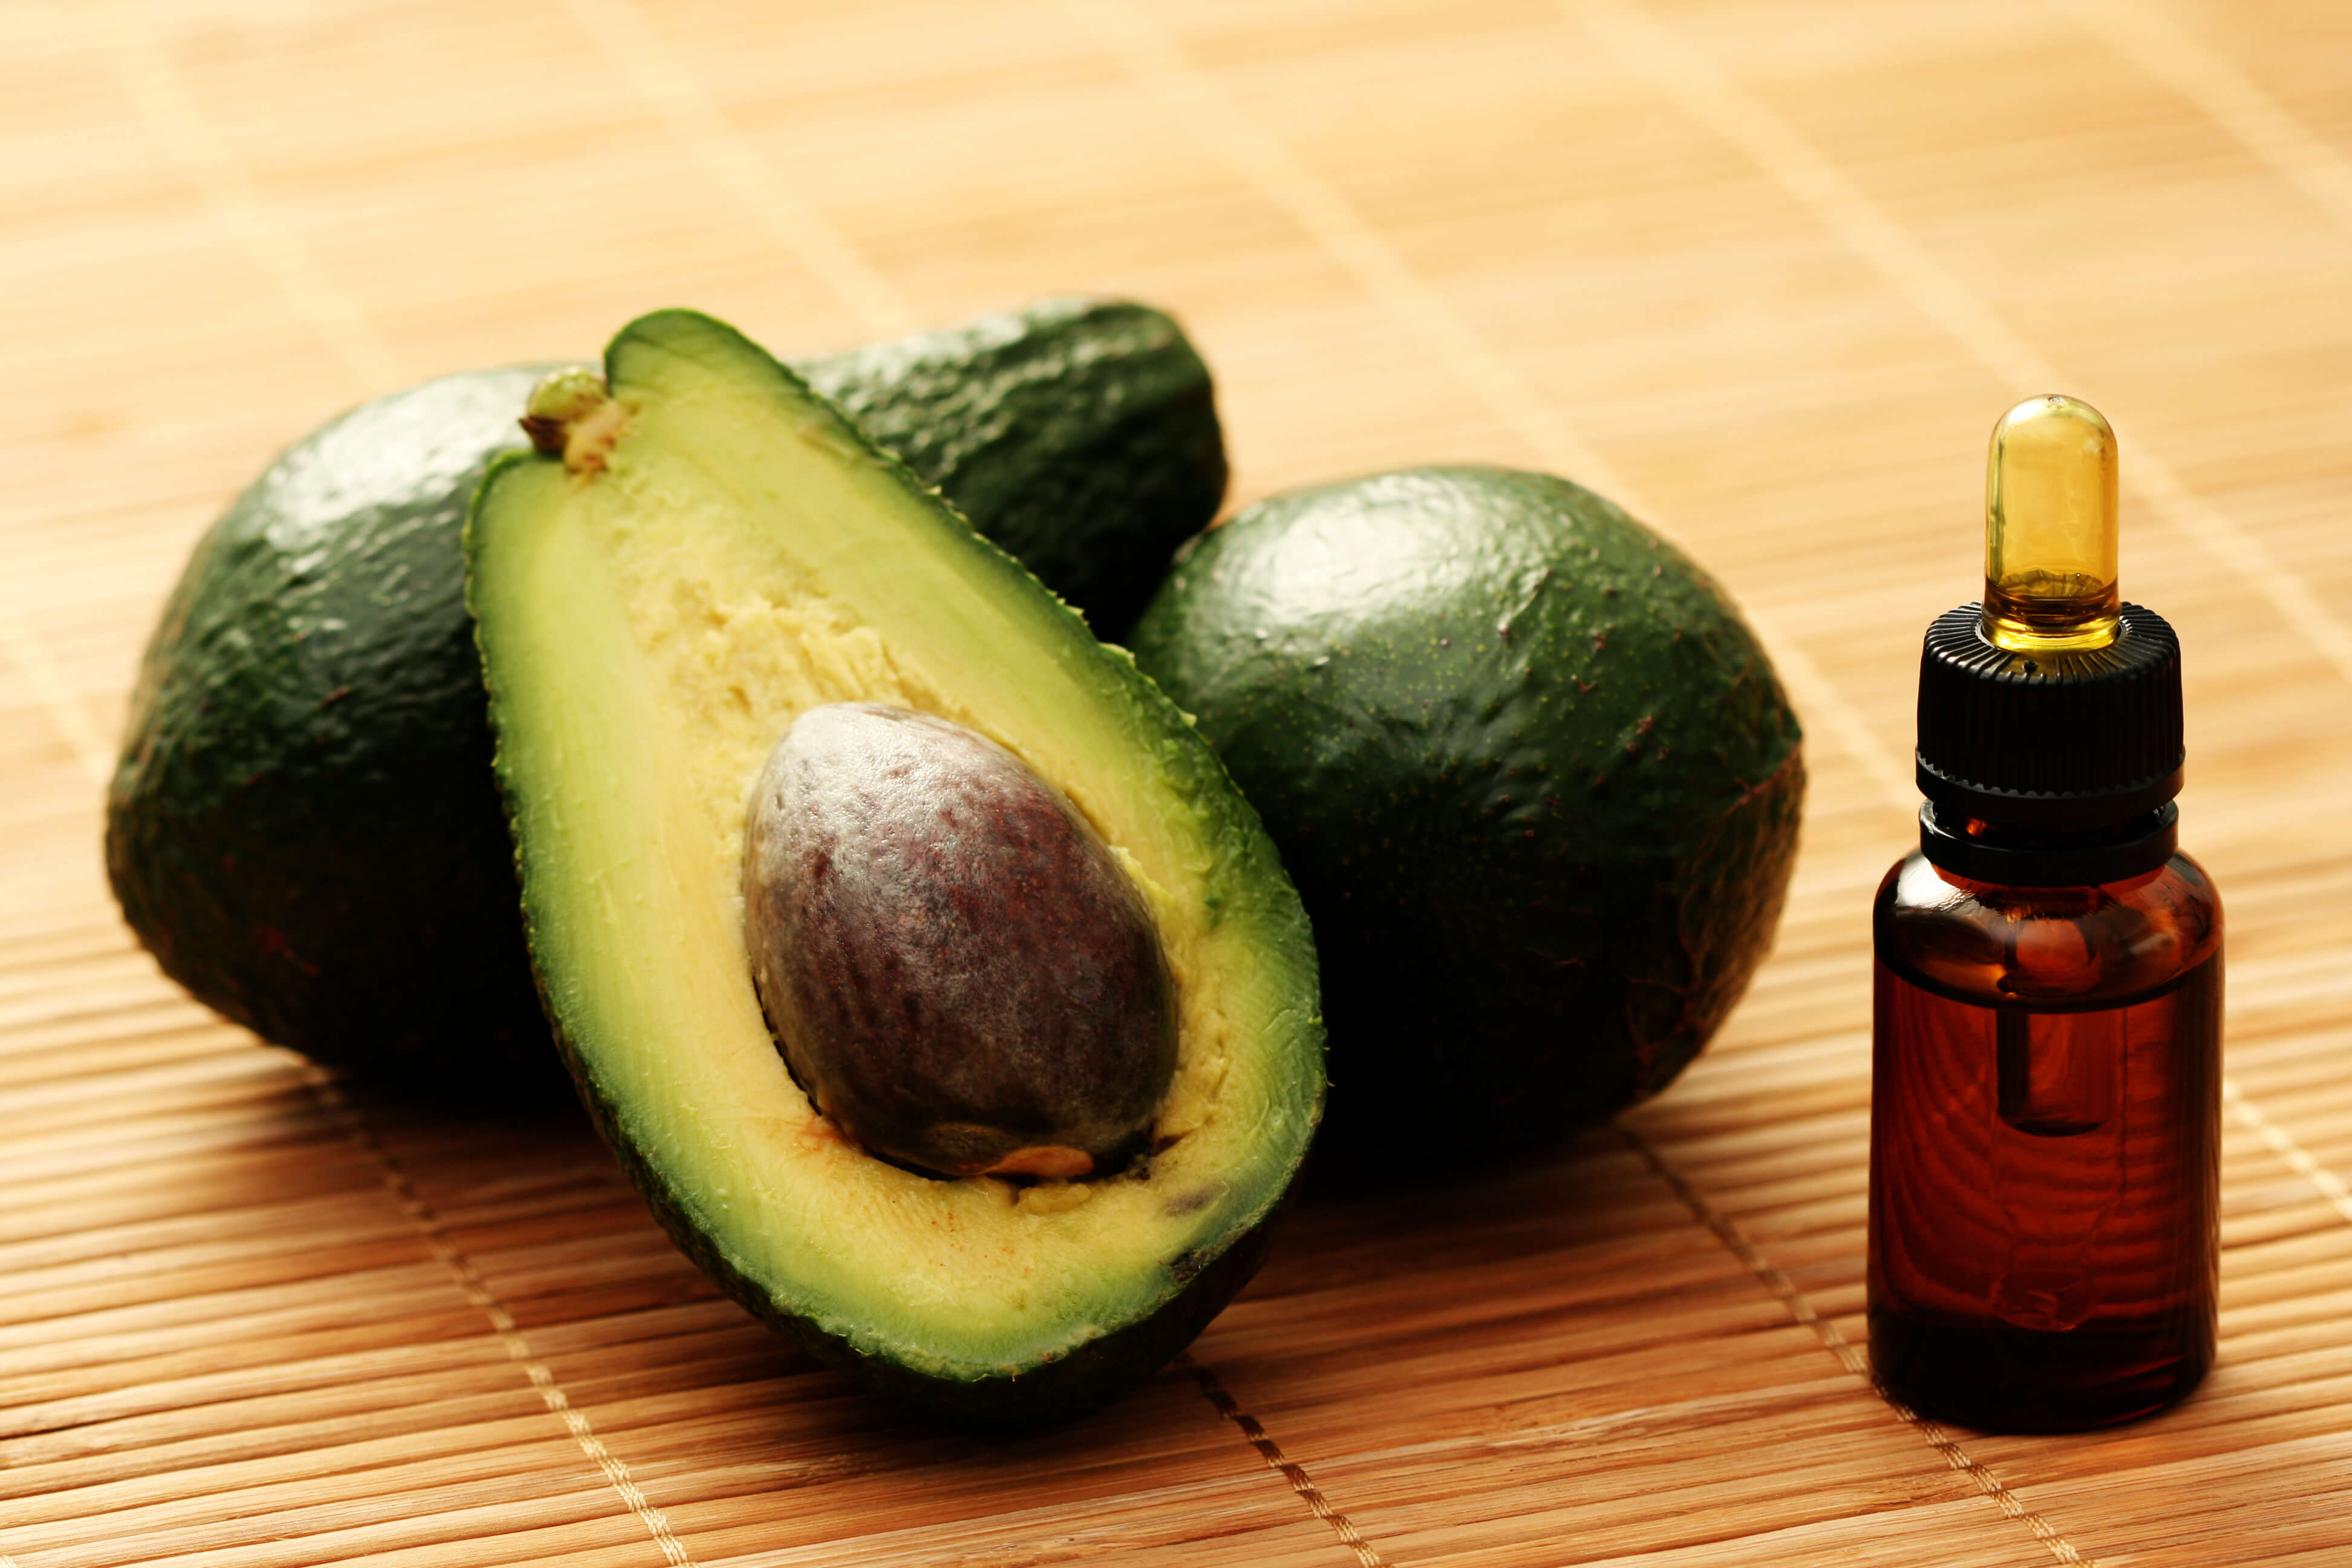
Carrier oils can be added alone or as a mixture from oils such as apricot, avocado, and jojoba. Each oil has its own special benefits and they nourish and hydrate your skin, and replenish the oils that you may have lost during washing.
When you use shampoos and face washes, they contain detergents such as sodium dodecyl sulfate and sodium lauryl sulfate, which removes all the natural oils of the skin, and is one of the causes of lines and wrinkles.
Beeswax

This is the solid yellowish or whitish substance produced in the abdomens of bees. It can be applied in a face cream and it protects the skin from harsh weather conditions and airborne allergies. It also contains natural moisturizers and helps to lock in moisture in the skin.
Nut Butter
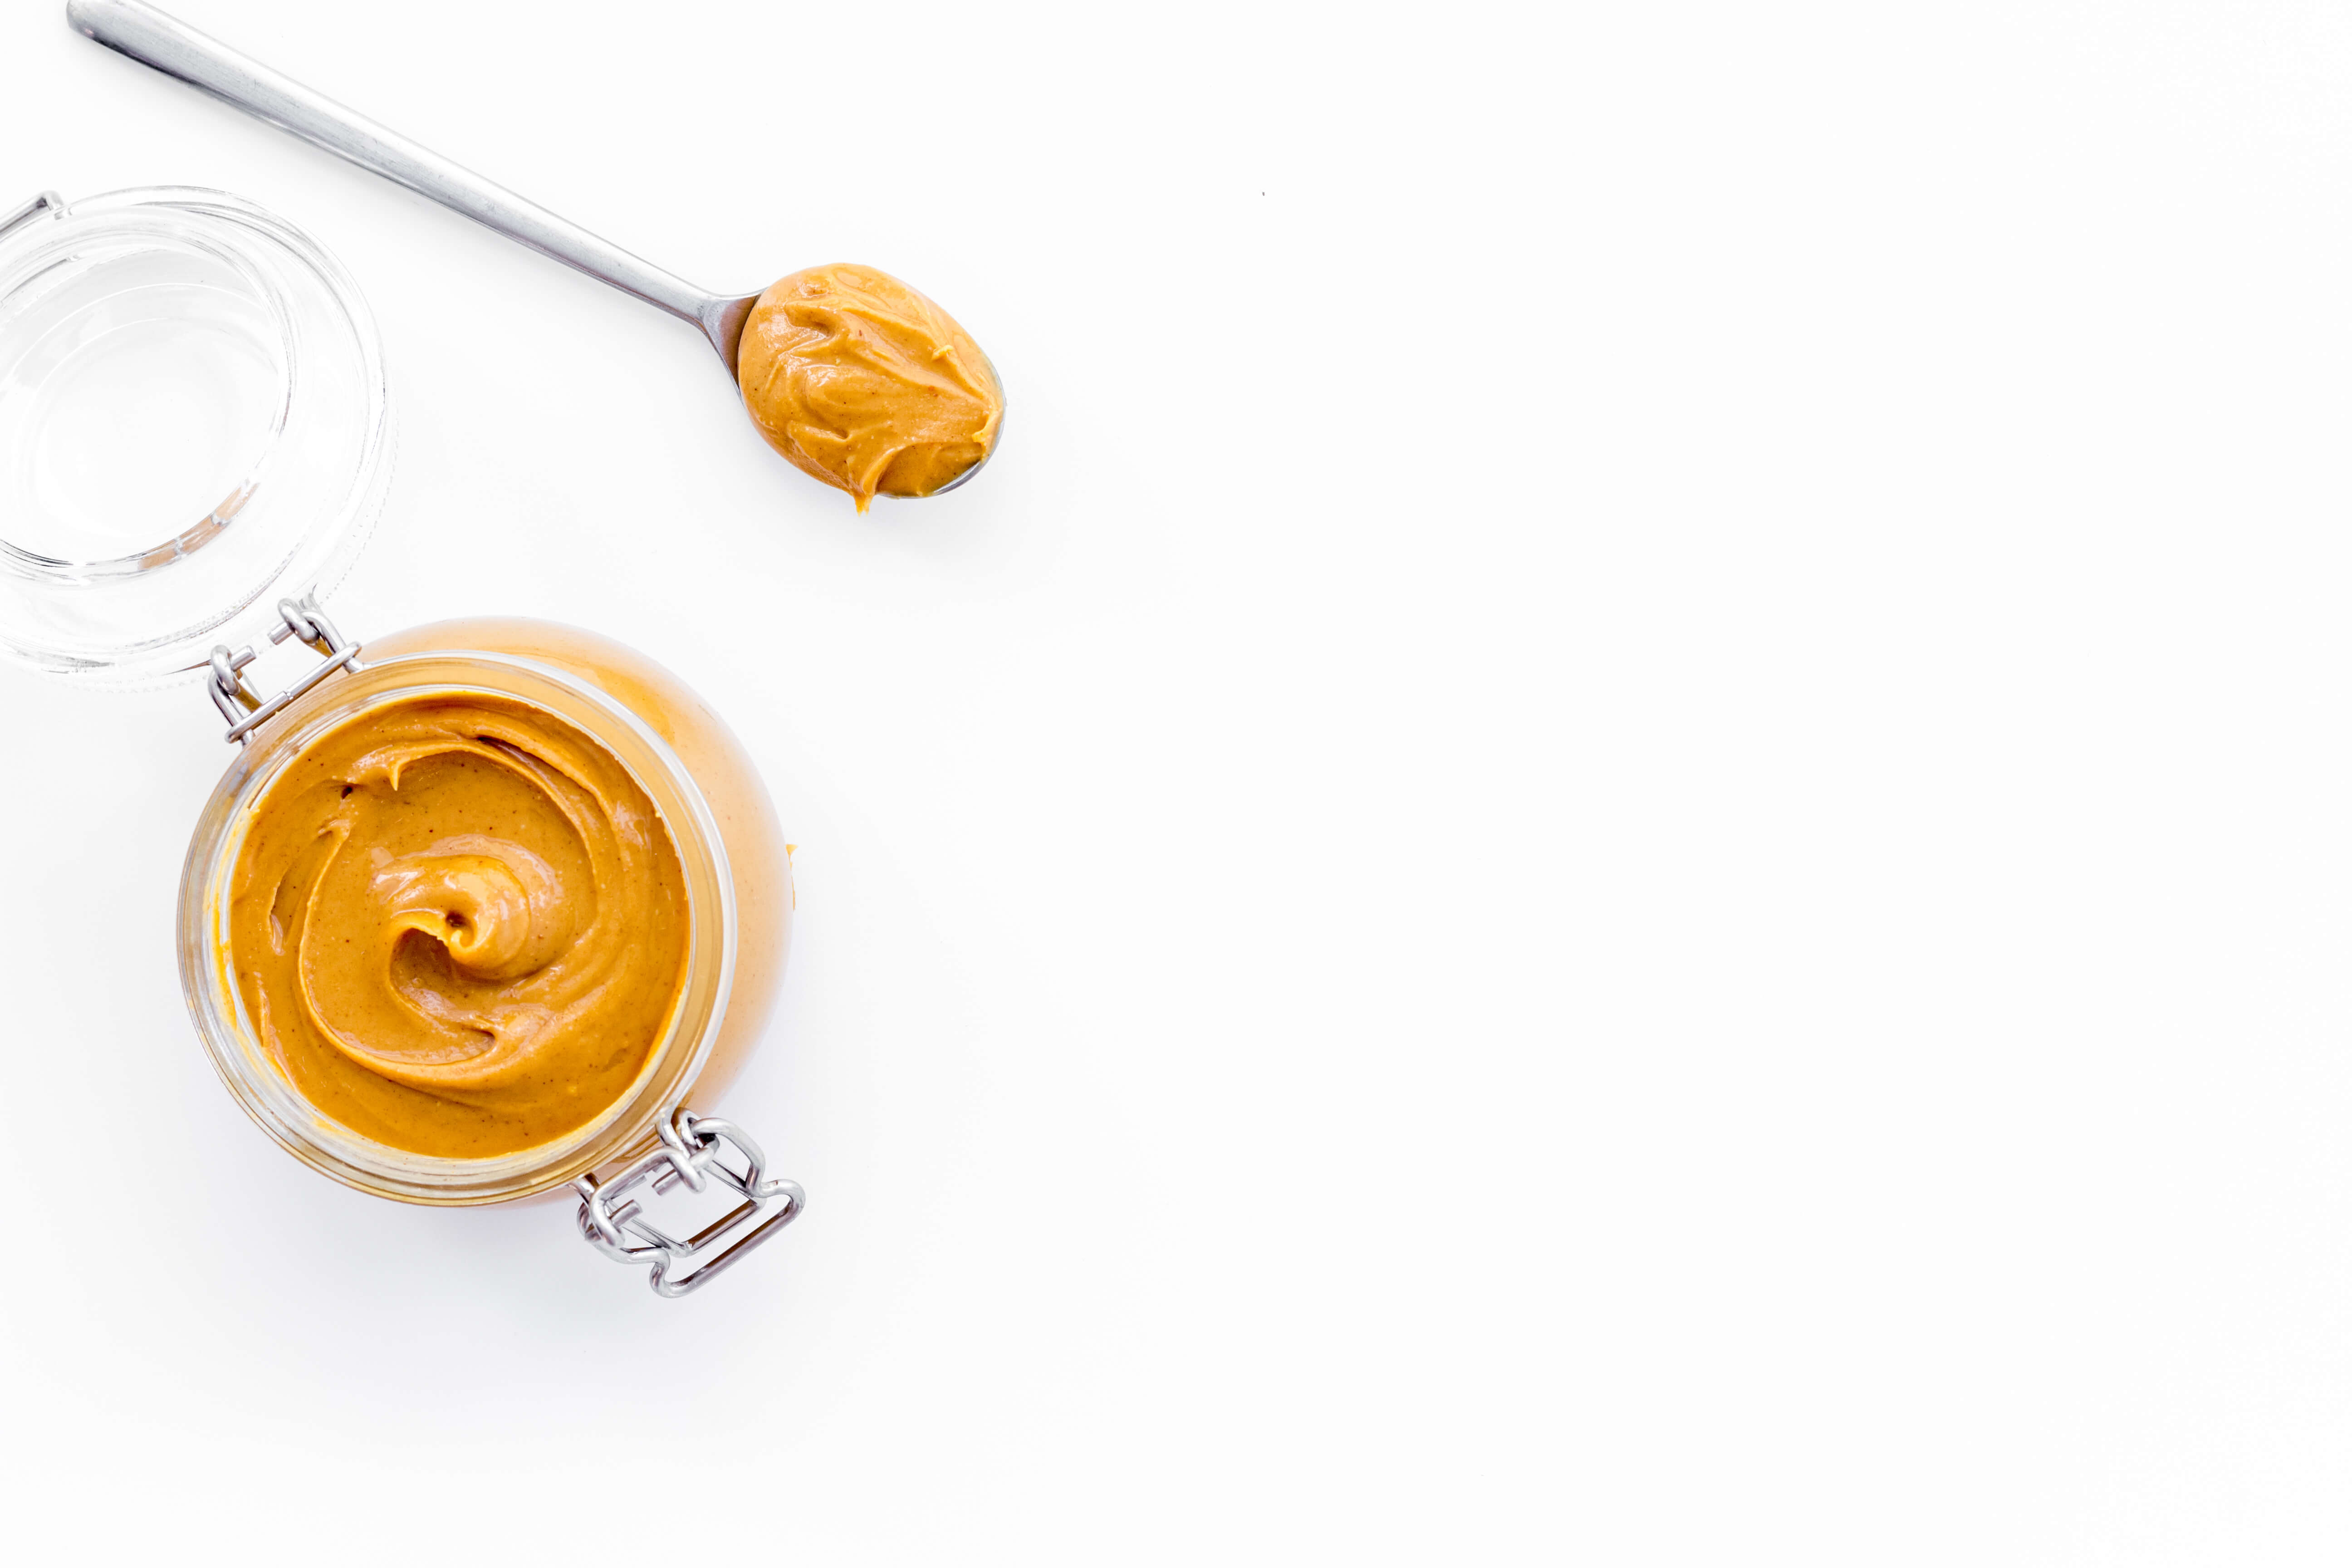
We recommend using either shea, peanut, mango coconut or cocoa butter as your nut butters. In fact, pretty much any one of them can be used. Nut butters are very important because they add volume and texture to your facial moisturizer. They also lock in the skin’s moisture and have been found to have anti-aging properties. Because they are natural ingredients, skin sensitive rarely occur when use.
Grapefruit Seed Extract

Grapefruit extract is the liquid juice extracted from the seeds and pulp of grapefruit. It contains antioxidants and is included in this DIY facial moisturizer to stop the grown of bacteria and fungi.
Other ingredients may include vitamins and minerals, essential oils, fruit or flower extracts, sunscreen, etc. These ingredient perform different functions including enhancing the smell and look of the moisturizer, or improving its quality.
Which Essential Oil Do You Need

Although essential oils are not in our list of the major ingredients, they are mostly used in other facial moisturizers and beauty creams. If you want to add it to your DIY facial moisturizer, there are several great ones you can choose from. Some of them take care of skin texture, repair skin blemishes, while others clean out skin pores or balance skin pH and oil production.
Whichever essential oil you choose, you are sure to get amazing benefits from it. However, don’t attempt a direct application of undiluted oil on your skin. It can cause a burn and you could suffer from real skin damage. Also, before you try any one, ensure you skin is not sensitive to it as you can start experiencing all sorts of issues when using the moisturizer.
You may also include essential oils that smell good and add fragrance to your moisturizer. There’s no reason why you can’t add essential oils such as lavender, rose, etc., to make your facial moisturizer smell better. You should, however, be careful so you don’t end up creating a bad smell from a mixture of essential oils, rather than a good one. Some oils react badly together and you can end up destroying the whole thing. Be sure to do enough research first on which sweet smelling oils to mix, or better still, add just one essential oil for fragrance.
Your DIY Facial Moisturizer

To get started, gather all the major ingredients you need and prepare them in the following proportions:
- 2 1/2 oz avocado, jojoba, almond or any other carrier oil
- 2 1/2 oz nut butter which can be shea, peanut, mango coconut or cocoa butter
- 1/2 oz beeswax
- 3 1/2 oz distilled water
- Grapefruit seed extract – 25 drops
- Essential oil – 20 drops
Putting it all Together
You need a manual or electric mixer and a double-boiler to prepare this cream. You will also need other basic utensils like spoons, glass mixing bowls, and glass jars. To ensure hygiene safety, properly wash all the utensils with very hot water and if possible, use alcohol to wipe them down. Using hot water to wash and alcohol to wipe, sterilizes your utensils and ensures that your finished cream is free of any microorganisms. Grapefruit seed extracts are the only antibiotic agents in this recipe and the bacteria on the utensils can overwhelm them. Wait for a while until they are all dry before using them.
Once you have everything washed, clean and dry, put some water on the stove and heat it until it is nearly boiling. Now, place your clean glass bowl in the pot and on top of the hot water. Do this carefully so it doesn’t tip over into the water. This is the double boiler referred to earlier.
Now, start adding the ingredients into the glass bowl. Begin with your carrier oil, then add the nut butter, and the beeswax. Allow them to melt together while stirring them from time to time. Let the mixture spend about 20 minutes to get melted and mixed properly.
Once the mixture becomes uniform, take out the glass bowl from the pot and steadily pour its content into the distilled water. If you’re using an electric mixer, you should only spend about 10 minutes for this process. If you’re doing it by hand, it may take you as much as 30 minutes.
As soon as the cream has become completely cooled, proceed with the grapefruit seed extract and essential oils. With the essential oils, don’t go above than the recommended amount as the cream can become rancid.
Storing and Applying Your DIY Facial Moisturizer
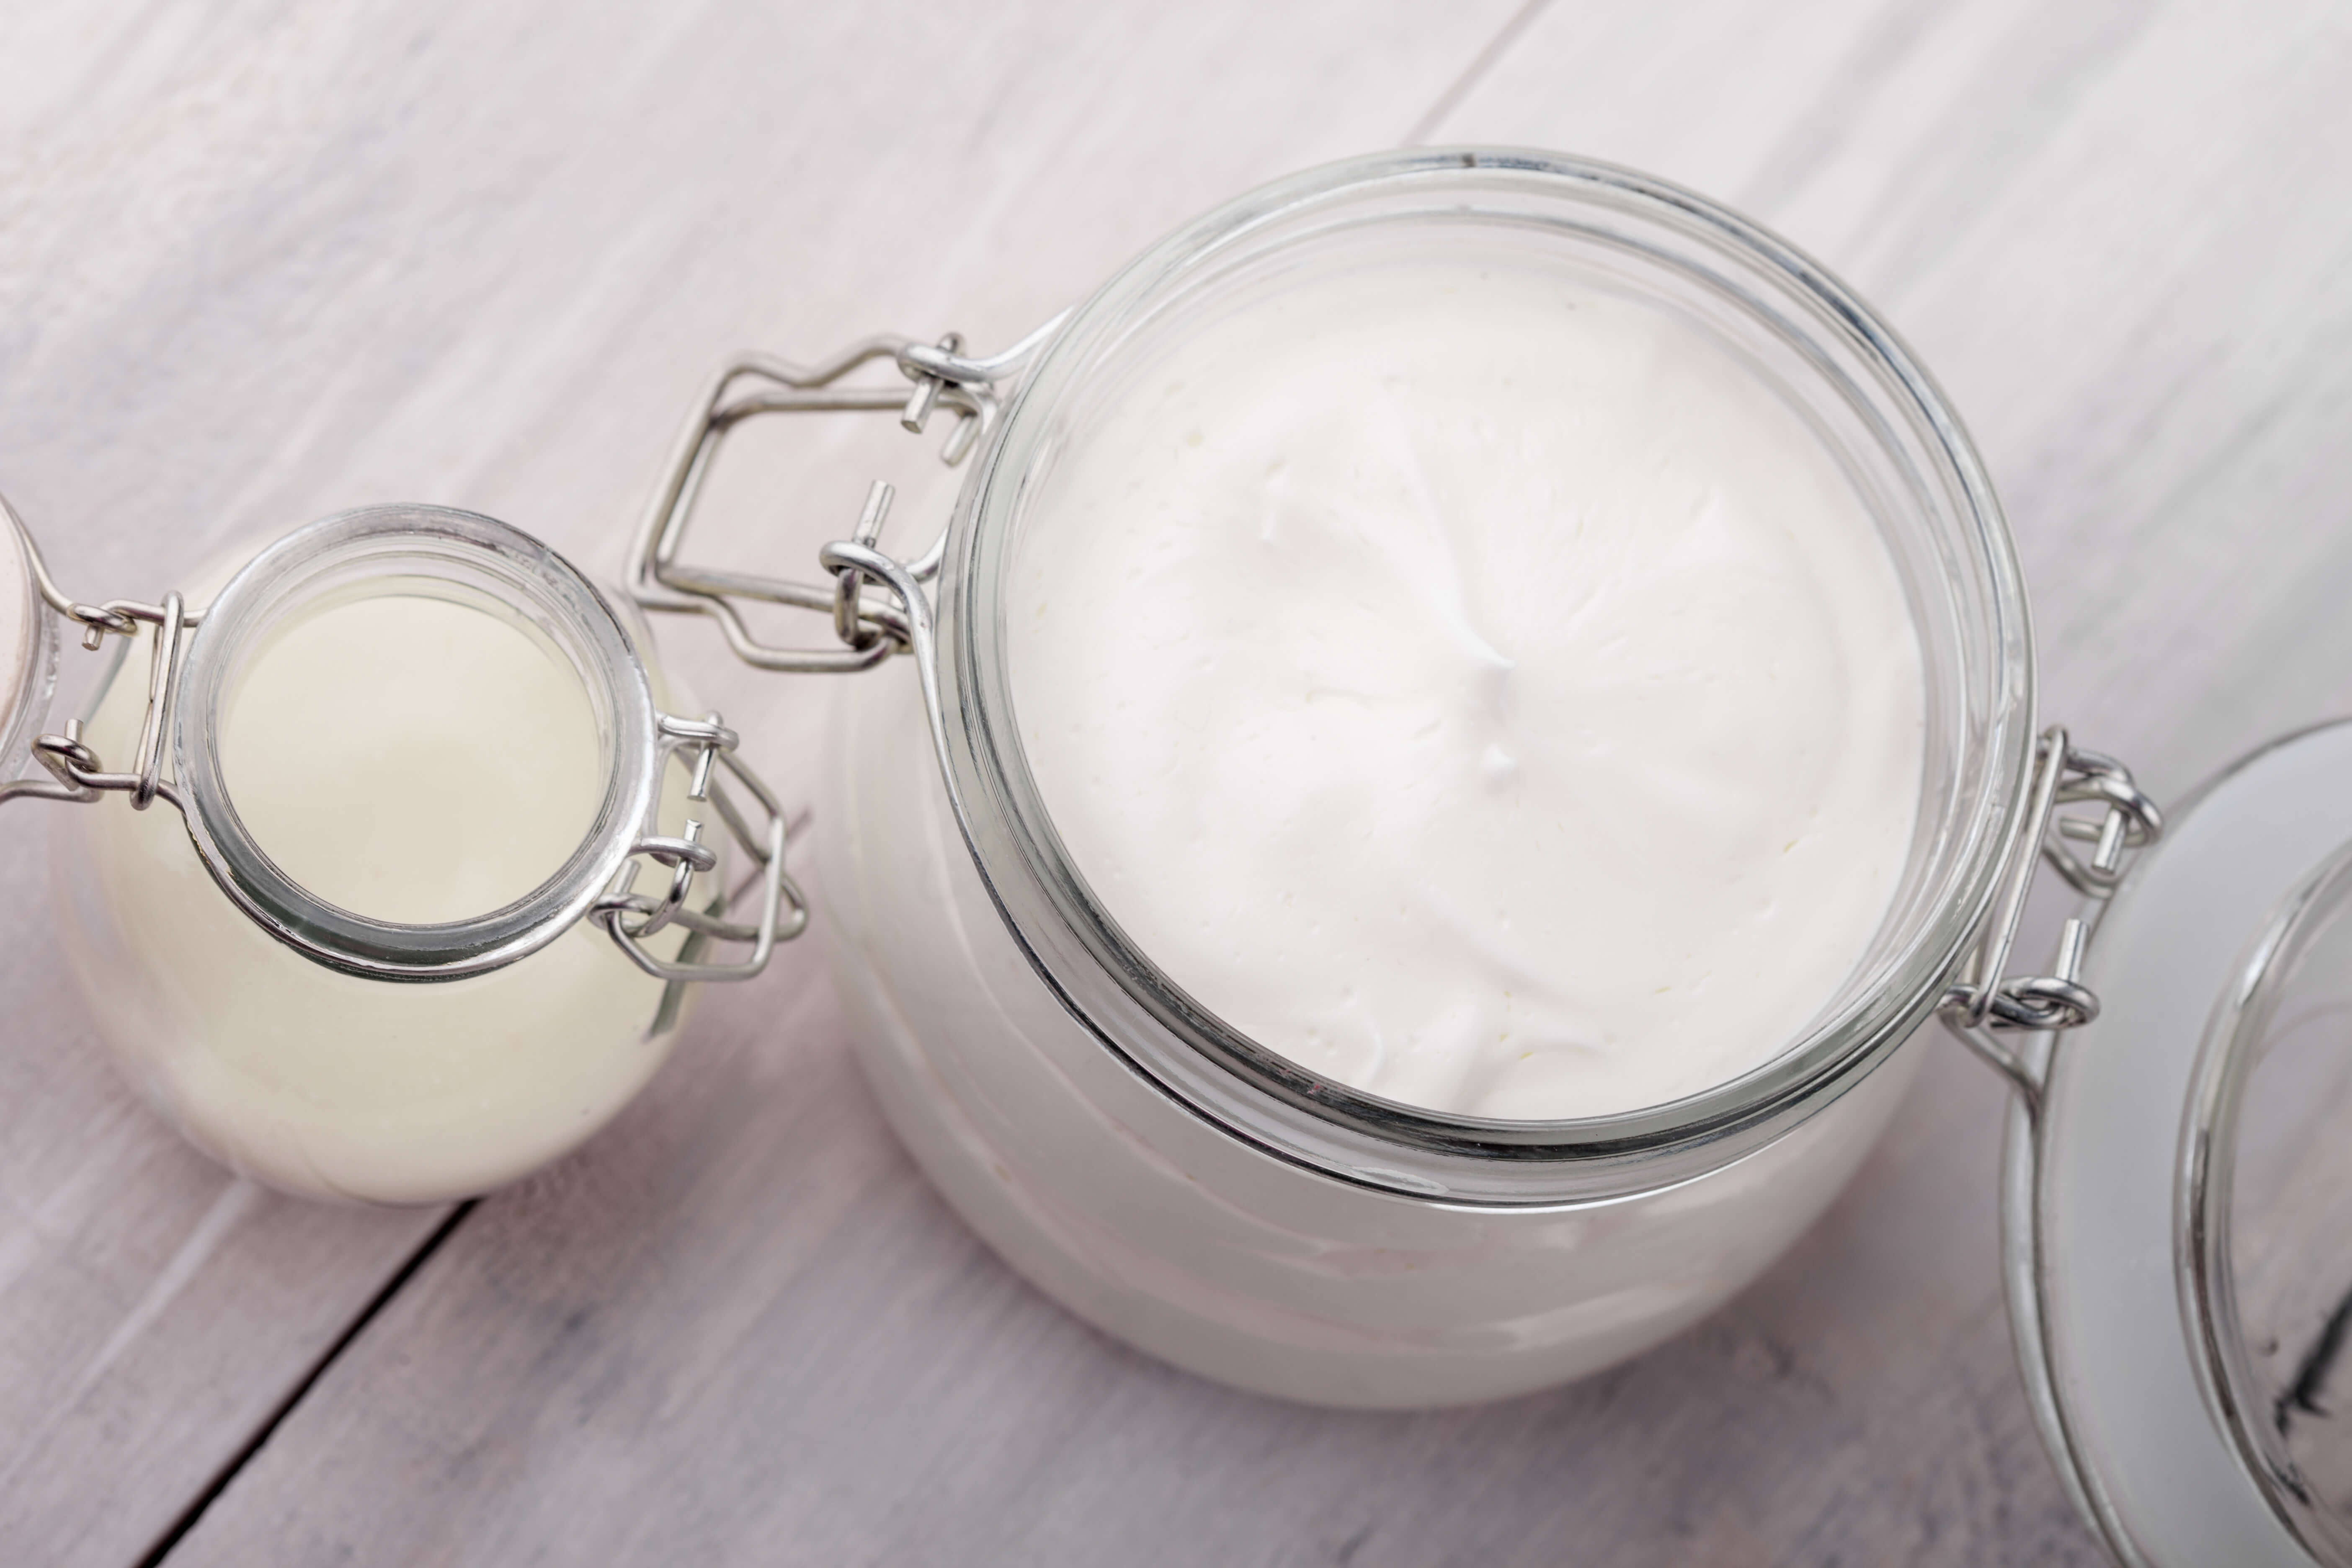
From this recipe, you get about 8 ounces or 227 grams of cream. You may scoop it in a glass jar and preserve it in the refrigerator. You can apply the moisturizer with a massage. A massage allows the moisturizer to go down deeper into your skin and more quickly.
Making your own facial moisturizer is quite simple and straightforward. The major ingredients you need are easily available to purchase online or at health food stores. You’ll be saving a lot of money and exercising complete control over what you put on your skin.
It is also very rare that your DIY facial moisturizer causes skin irritation. However, if you experience any allergies or skin reactions, you may want to eliminate the ingredient causing the irritation. You can also remove any other ingredients that are not ideal for your skin, and adjust the fragrance of the moisturizer based on your preference.
References
https://www.globalhealingcenter.com/natural-health/beeswax/
https://www.herbaldynamicsbeauty.com/blogs/herbal-dynamics-beauty/the-best-butters-for-skin
https://www.healthline.com/nutrition/grapefruit-seed-extract
https://draxe.com/diy-face-moisturizer/