
While contouring and highlighting have become a pop culture mainstay since the early 2000s, the makeup tactic has been around for hundreds of years. The ancestry of using shadows and light to enhance facial features dates back to the 1500s. Theater actors of England used soot and chalk to accentuate their facial expressions.
In more recent times, many credit reality star Kim Kardashian as the catalyst behind the rising popularity of contouring. In 2012, Kim posted a photo to her social media of a before-and-after photo that showed her with lion-like makeup streaks on her face in the ‘before’ photo.
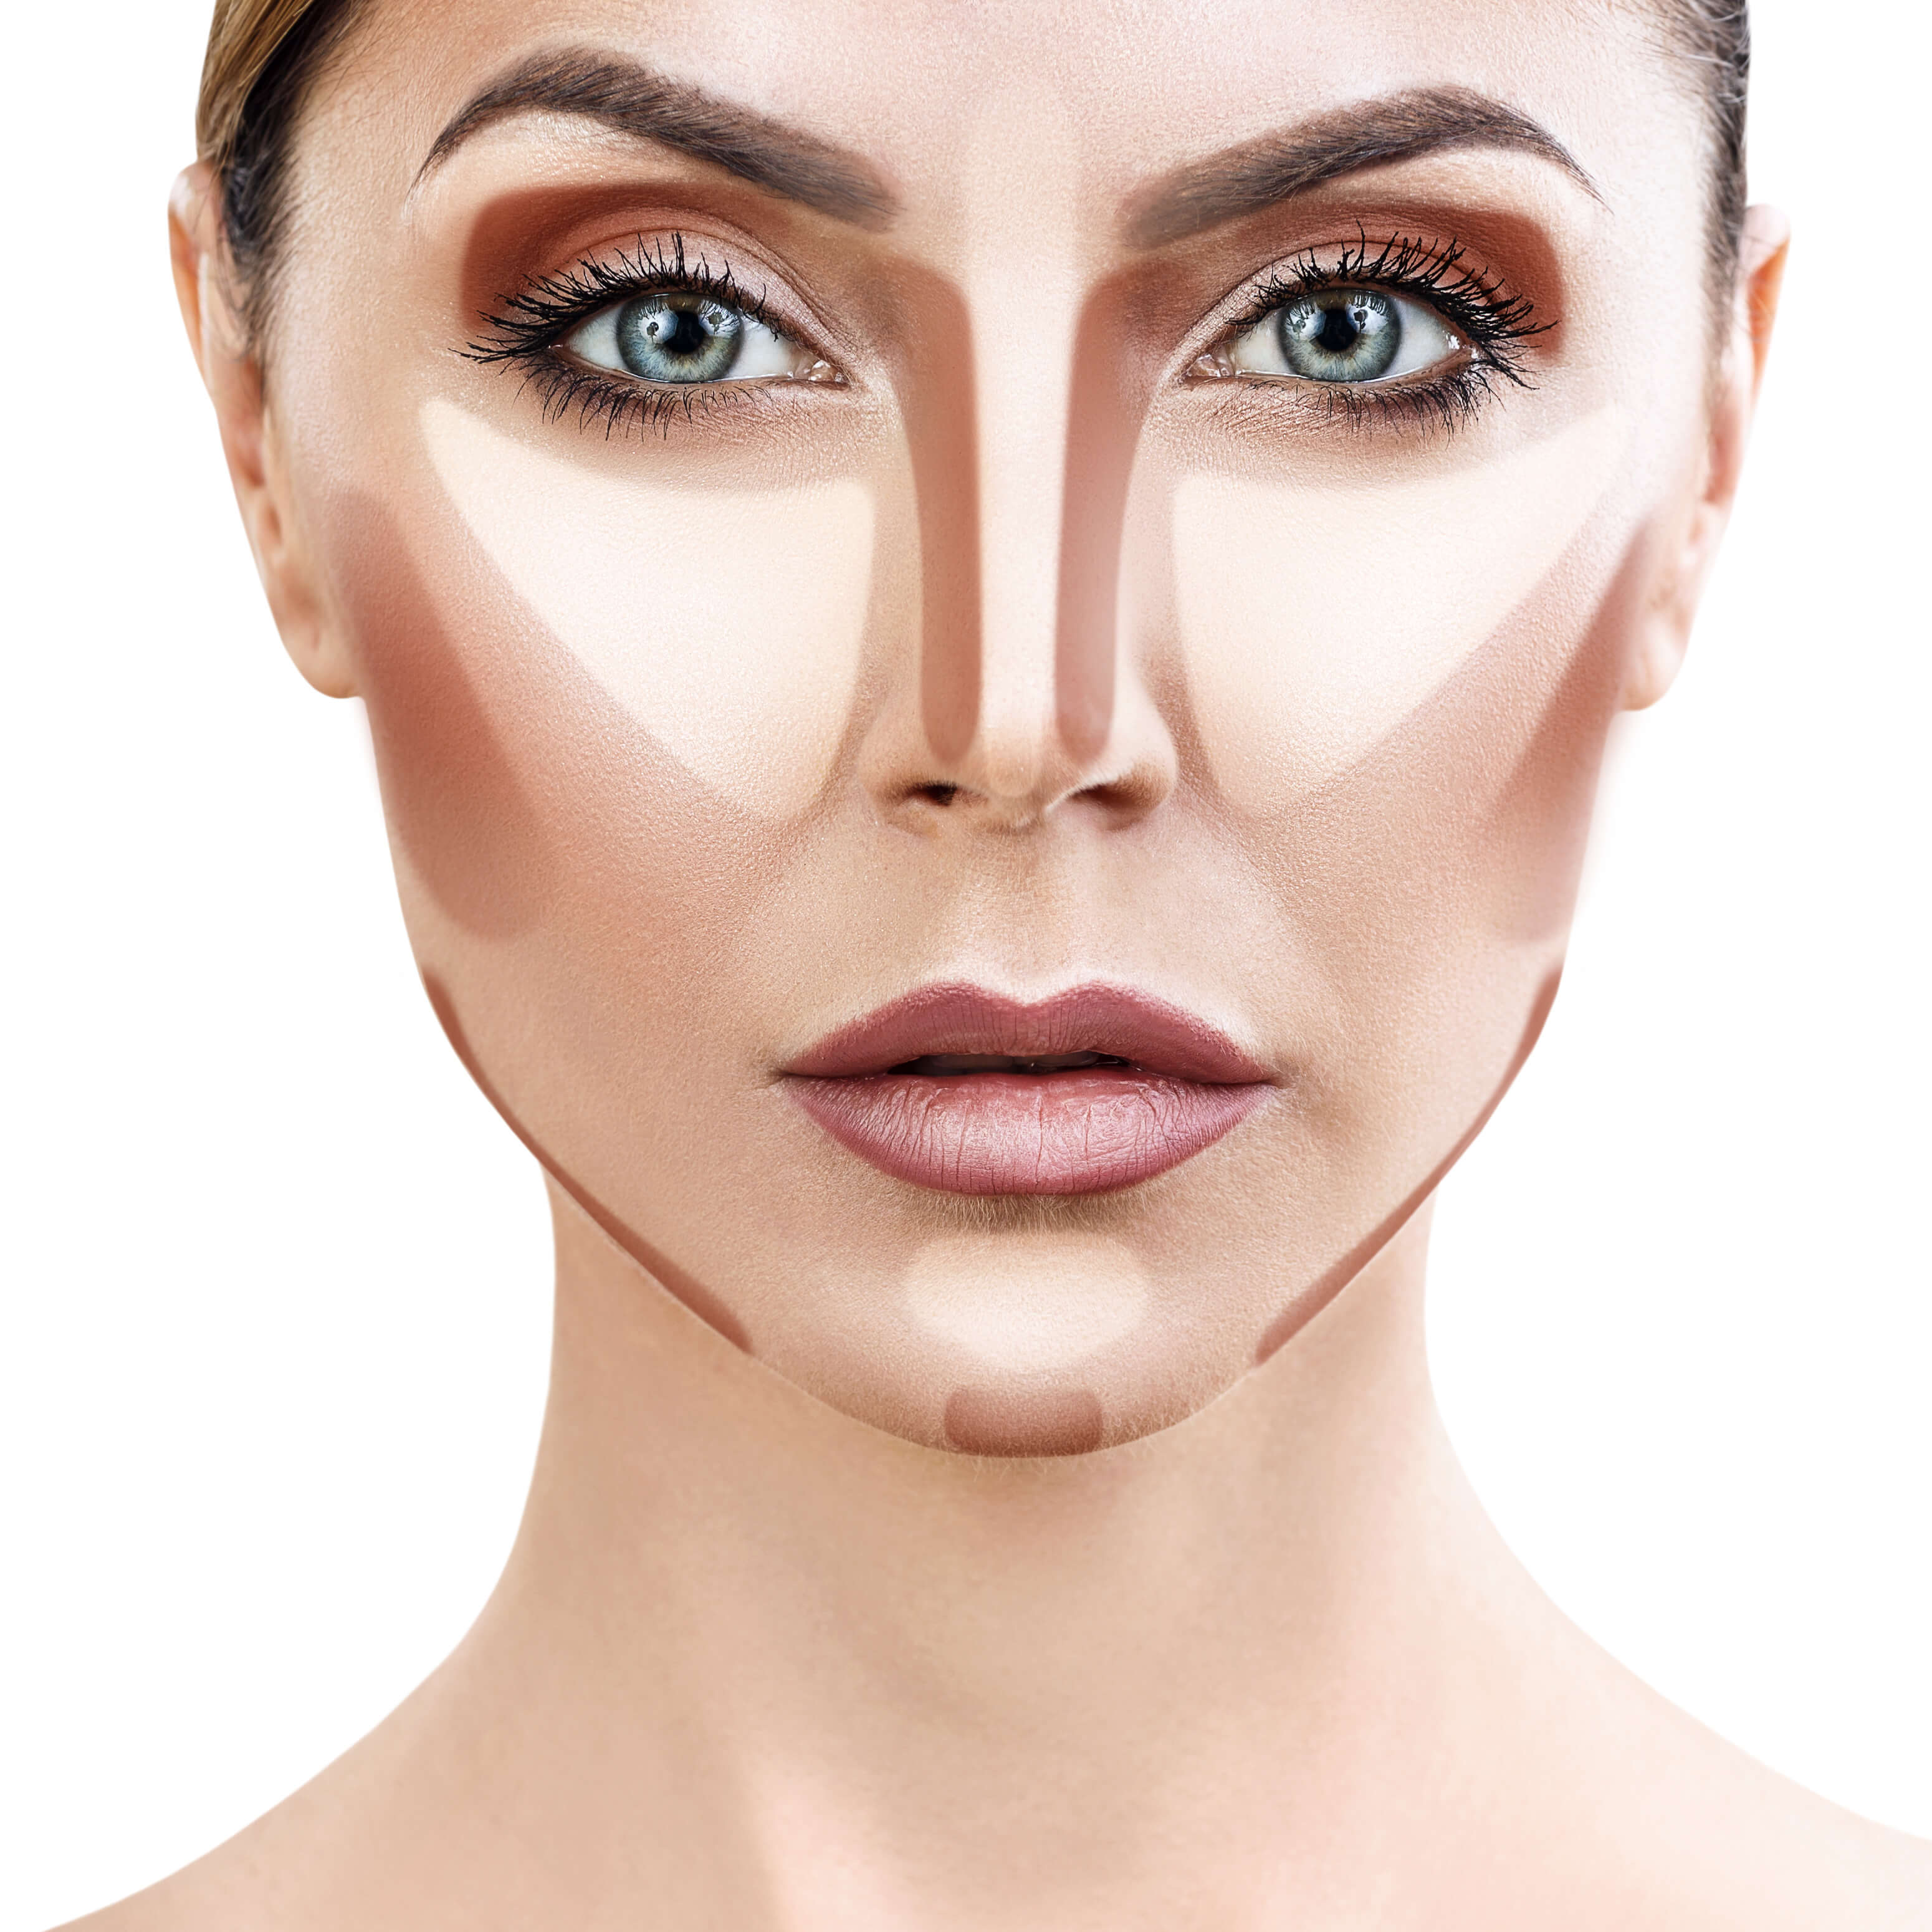
Highlighting and contouring is the subtle art of using light and shadows to sculpt your face.
A stroke of a brush can make the nose appear slimmer and bring out your cheekbones. Contouring gives your face an airbrushed look without needing an Instagram filter.
Even old movie stars of the 30s used contouring to flatter their faces for the cameras. However, back then, makeup tips and tricks were safely guarded secrets. Nowadays, you can find hundreds of step-by-step tutorials on Youtube.
What does contouring do to your face?
Modern-day contouring is the process of using a matte product (powder and cream are most popular) that is a few shades darker than your natural skin tone to blend into your skin. The contour powder can redefine your facial features by making your nose look slimmer or your cheekbones higher.
The look is achieved by applying the contouring product to specific areas such as the bridge of the nose or the top of the cheekbones and then blending. Blending is the most important step. If you don’t blend correctly, your face can look like it has clown makeup on it. The method of contouring uses shadows and light to trick the eyes into seeing your face shape differently.
What does highlighting do to your face?

Highlighting is sometimes called ‘strobing’. It is used in conjunction with contouring.
Contouring uses the shadows to hide your facial imperfections. Highlighting has the opposite effect – it attracts the light to create a younger, bright face.
Finding the right balance of highlighting is important to prevent looking washed out or grey. The highlighter can be applied to the brow bone, chin and the nose to lift your features and give the illusion of light.
The highlighter should be only used in targeted areas instead of all over the face. You want to give the appearance of a glow. Too much highlighter can make it look like you are sweating. Highlighter can be used under your eyes to make your eyes look bigger or less tired. You can even give the appearance of fuller lips by applying the highlighter to the bow of your lips.
How to contour your face step by step
Clean, Dry Face
Before applying any makeup or product to your face, your skin should be clean and dry. You can apply moisturizer prior to beginning your makeup routine, but make sure it dries before you start contouring.
Makeup is best applied to the face after a shower, but a quick wash with soap and water can do the trick, too.
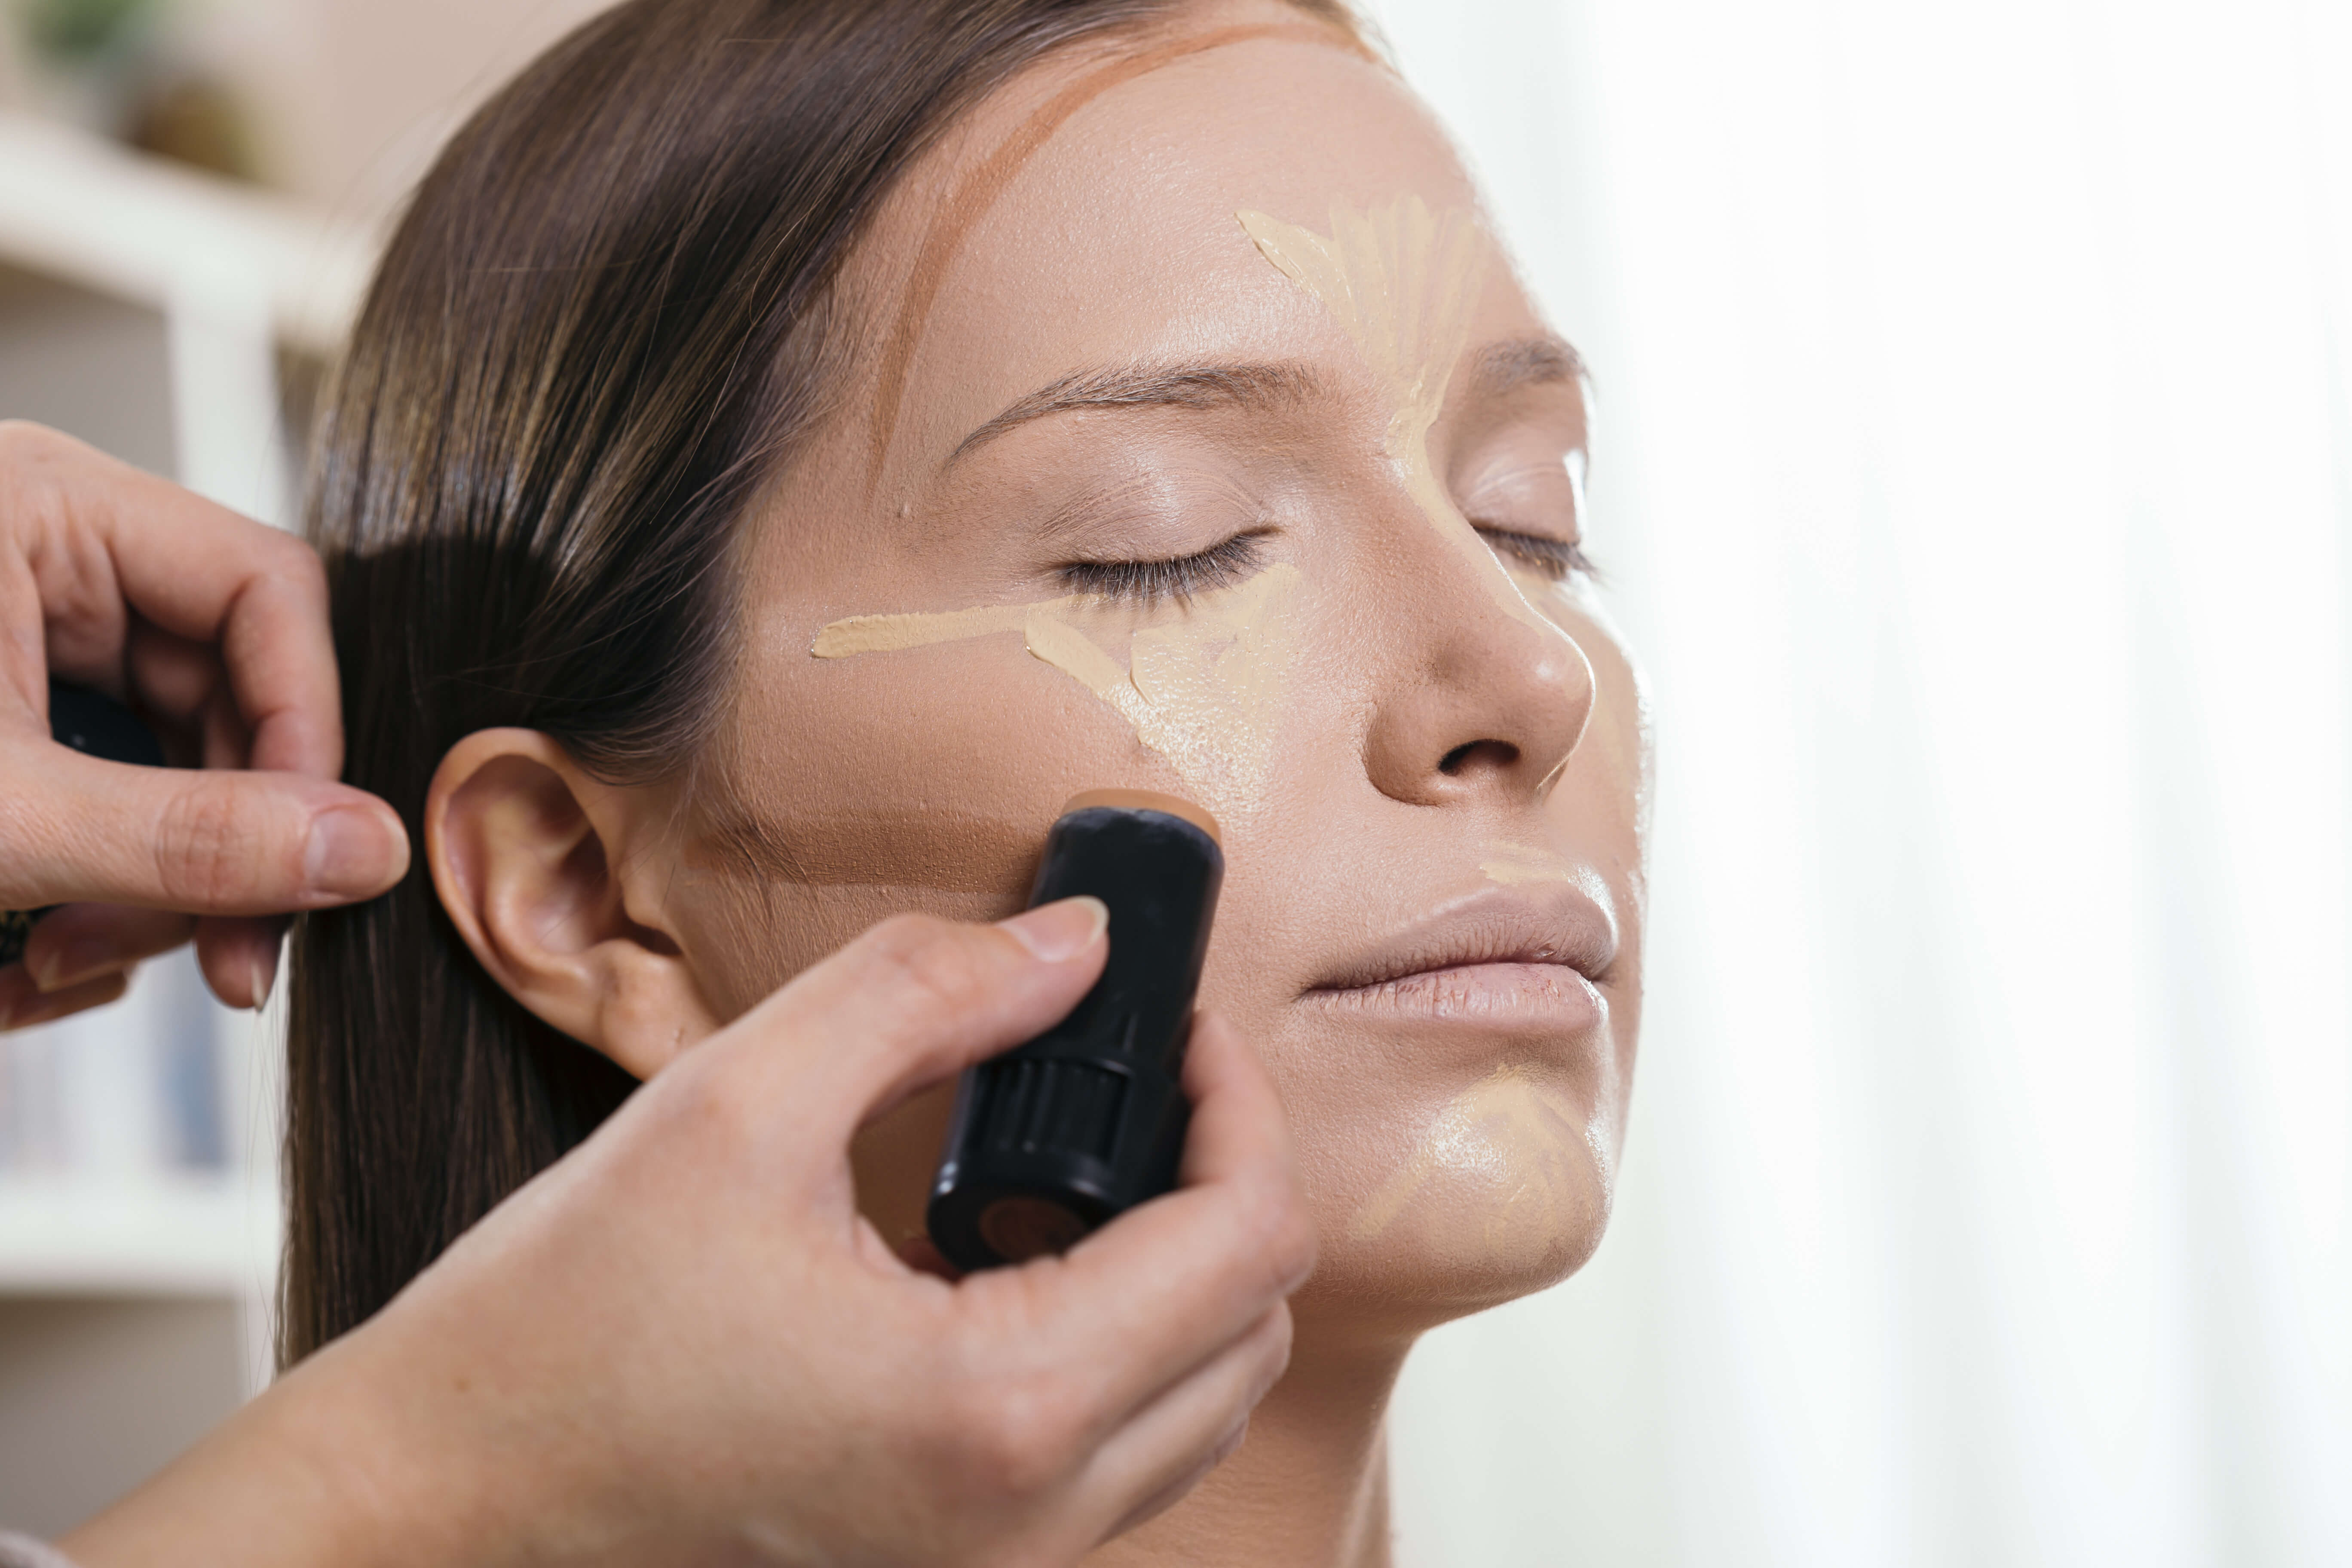
Apply Base Foundation
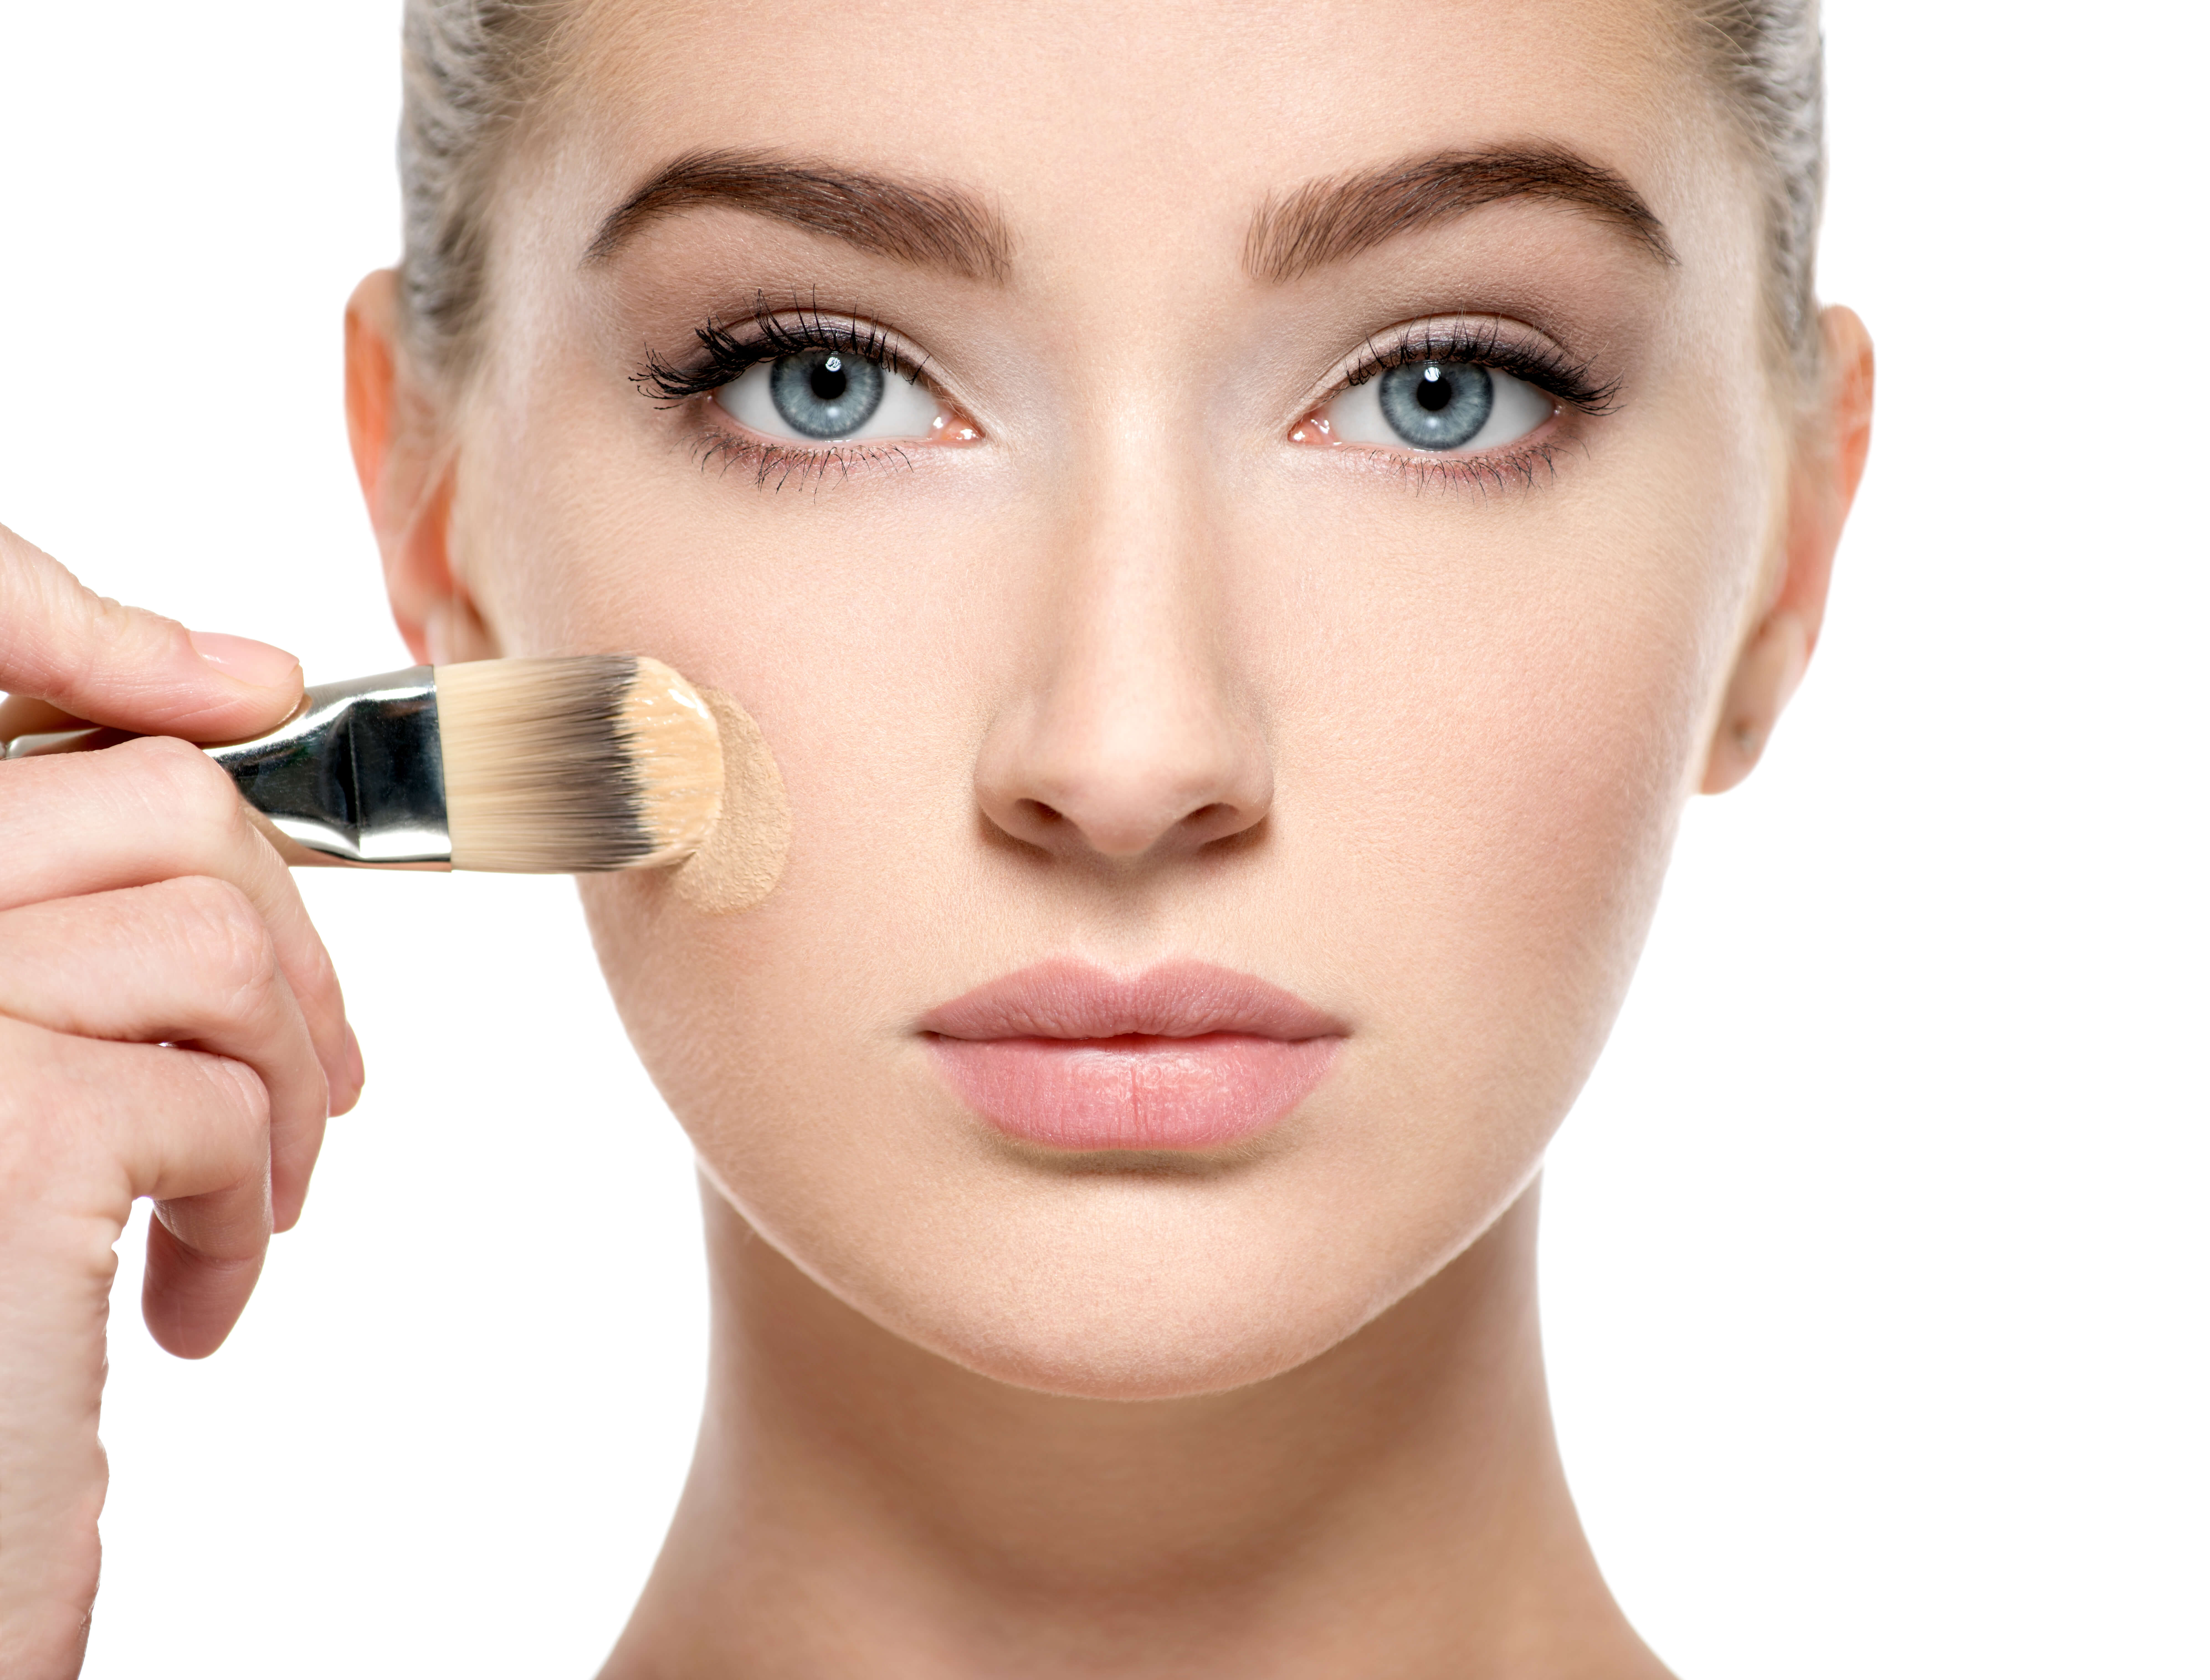
A base foundation should match your skin tone. It can be applied all over your face and gently rubbed in until it’s no longer visible. The foundation evens your skin complexion, which helps hide your skin blemishes and imperfections. The contouring is more for enhancing your face, not hiding it.
Choose Contour Shade
There are so many options for contouring that it can be overwhelming. There are creams, powders, sticks and liquids to choose from. Those decisions are more of a personal preference to the type of textures available.
Contour color, on the other hand, is predetermined and depends on your skin tone. The contouring product needs to be three shades darker than your normal skin tone. Some people feel nervous about using darker shades, but the purpose of the blending step is to mix those shades with your natural complexion.
Map Face
The art of applying the contour product is called ‘mapping’. This helps you target your problem areas and figure out how to accentuate your desired features.
The contour product can be applied to the temples, the bridge of your nose, beneath your lips, on your cheeks and around the hairline.
Contouring at the hairline helps minimize five heads (large foreheads). Similarly, the contour of the nose makes your nose appear slimmer. Applying contour to the hollow part of your cheeks gives you razor-sharp cheekbones. The areas to use contour does depend slightly on your face shape and you can find how-to videos on Youtube for the specific face shapes.
Blend
To blend the contour, use a damp blending brush. Using light, circular motions, blend the contouring product with your underlying foundation to sculpt your face into your desired look. Some people flatten the brush for contouring the nose area for a more detailed blend.
Get Lit
If you’re using a contouring stick with two different shades, you can use the lighter shade beneath your eyes to make your eyes pop. This is a great trick for tired, baggy eyes. Blend with the blending brush to complete the look.
Dust with Powder
Once you’ve completed blending, you need to apply loose powder to your face. The translucent powder locks in the creamy foundation that you’ve used to contour. Use a fluffy brush to dust the loose powder over your entire face.
How to highlight your face step by step
Strobing, or highlighting, makes your face look refreshed and bathed in light. You can go for extreme strobing for a drastic look or a more low-key process that can be used for your daily face.
Choose Shade
The highlighter should be three shades lighter than your complexion. Experts recommend pink tones for fair skin and gold tones for dark skin tones.
The purpose of highlighting is to illuminate areas of your face that naturally catches the light. The bone structure will guide you on placement.
Map Your Face
Start by creating a triangle shape under your eyes. Next, apply the highlighter to the middle of your chin and the bridge of your nose. Dab a drop between your eyebrows as well. Some people prefer to trace a small line down their nose to minimize the nose shape.
Use the highlighter on your cheekbones to brighten your eyes. Don’t apply it directly under your eyes or it will only make the dark circles more visible.
Blend
Using a damp beauty brush or sponge, blend the highlighter into your skin. Your complexion should brighten when it catches the natural light.
Is cream or powder better for contouring?
When you are trying to decide if powder or cream works best for your skin, keep in mind that you can’t use both types. Mixing cream for contouring and powder for highlighting won’t give you a seamless, clean complexion. It will look patchy and uneven.
Many times, the choice between powder and cream comes down to personal preference. Some people might prefer to use the cream because they can use their fingers to apply it. Others feel that the powder looks less natural when the application is complete. Those new to contouring might find the powder easier to use.
Skin type also plays a role in whether cream or powder is right for your face. Powder-based contour products work better on oily skin, but powder can make dry skin more visible. It’s mostly trial and error to find out which products work the best for you.
Other Tips
Skin tone is Important – Contouring is supposed to be subtle and effortless. Choosing the right shades for contouring and highlighting depends a great deal on your skin tone. It’s a balancing act because you don’t want to use shades that are obviously too dark or too light for your skin.
Get the right tools – The contouring cream is best applied with your fingers, but the powder needs a specific bristle brush for application. You’ll also need a separate tool to dust on the finishing powder. You can go to a local beauty store for suggestions on what tools work best for your face.
Contouring technique isn’t universal – Everyone has a different shaped face and the technique you’ll use for contouring greatly depends on your face shape. The technique for square faces will be different than that of oval or round faces. The angle of the face is an important consideration when it comes to which areas of the face to highlight. Contouring cheekbones can make your face look longer or amazing, depending on the shape of your face.
Conclusion
This is a general guide to contouring and highlighting. There isn’t a guide that fits all face shapes. What works for one face might not look great on another face. Beauty vloggers are a great way to get a visual demonstration on how to contour and highlight. Contouring has come a long way since the day of using soot and ashes.
References
https://wgno.com/2014/05/21/mastering-the-art-of-contouring-slim-sculpt-your-face-in-minutes/
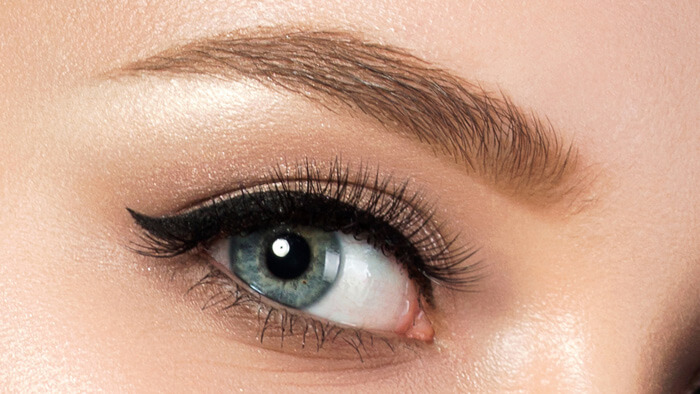 How to Get the Perfect Cat Eye
 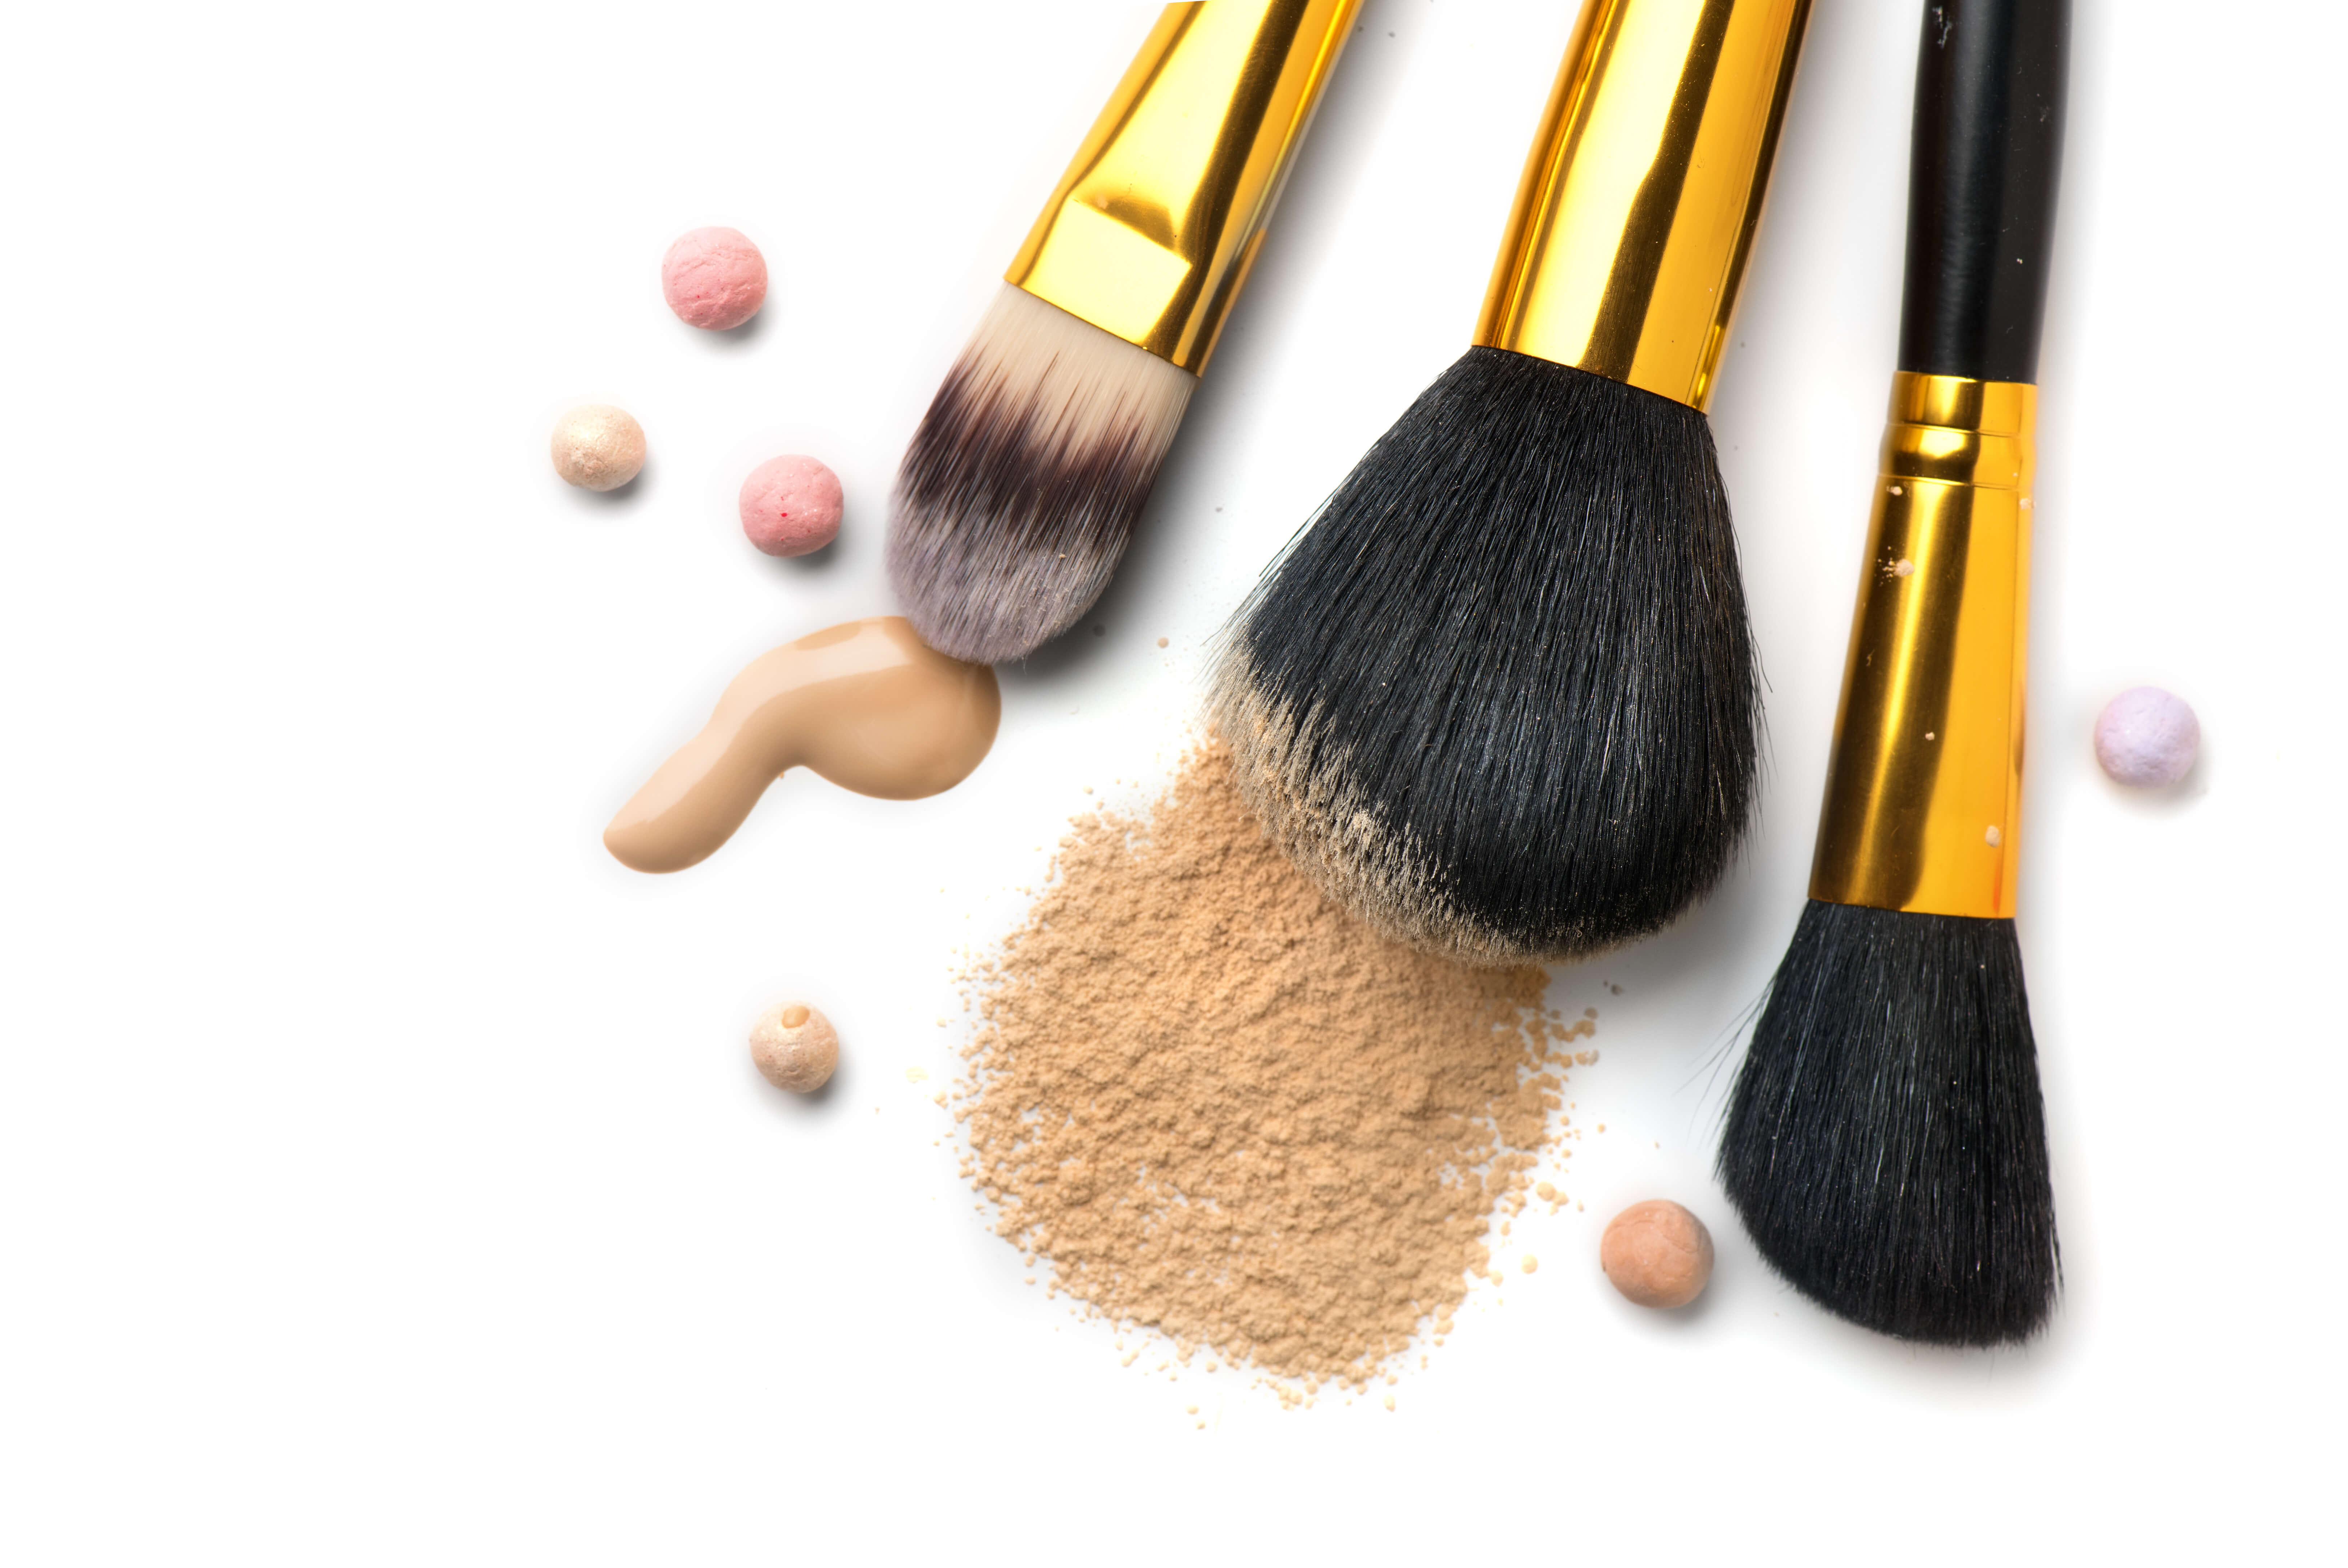 How To Make Natural Makeup At Home
 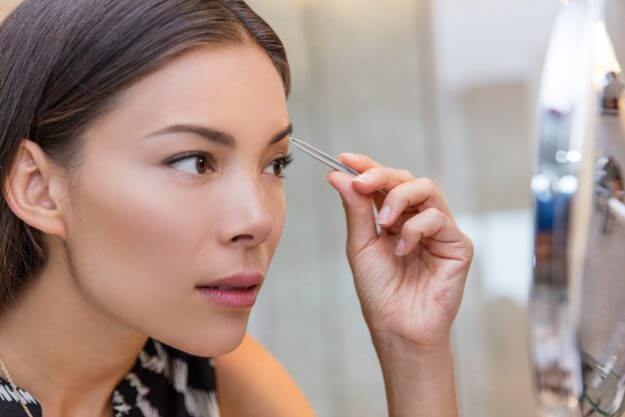 The Top Things You Should Know About Microblading
 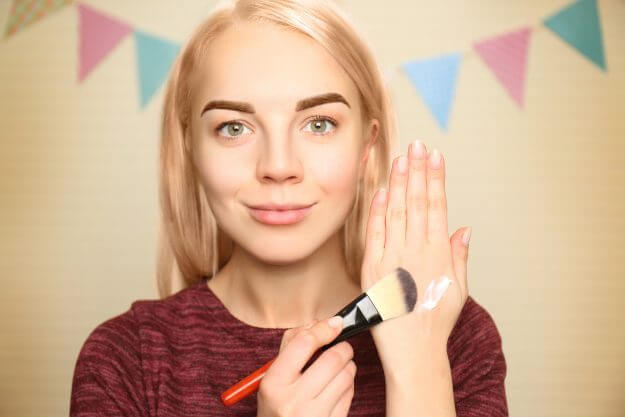 The Best Facial Primers To Use For Oily Skin
  The Best Products and Tips for Acne and Spots
  What Is Fitness Makeup And Will It Damage My Skin?